Installation de ANTLR
Dans cette leçon, nous allons installer ANTLR sur notre poste de travail.
Dernière modification : Dec 08 , 2024
Dernière modification : Dec 08 , 2024
Pré-requis
L'installation est réalisée à partir d'une machine Ubuntu.
Toutefois il est possible d'installer ANTLR sur Linux, macOS, ou Windows.
Pour plus de méthode d'installation, allez à la page installation
ANTLR nécessite une machine virtuelle Java (JVM), en version 1.8 minimum.
Ce tutoriel reprend une partie de la documentation de ANTLR.
Vérifier la présence de la JVM
Ouvrez un terminal ( ou une console Powershell sous Linux ou cmd.exe) et tapez :
$ java -version
openjdk version "13.0.7" 2021-04-20
OpenJDK Runtime Environment (build 13.0.7+5-Ubuntu-0ubuntu120.10)
OpenJDK 64-Bit Server VM (build 13.0.7+5-Ubuntu-0ubuntu120.10, mixed mode)
Télécharger le binaire de ANTLR
La distribution d'ANTLR est disponible ici.
- Pour Eclipse, le plus simple est d'installer directement le plugin ANTLR
- Pour IntelliJ, le plugin le plus complet et le mieux maintenu ici
Installation sous Eclipse
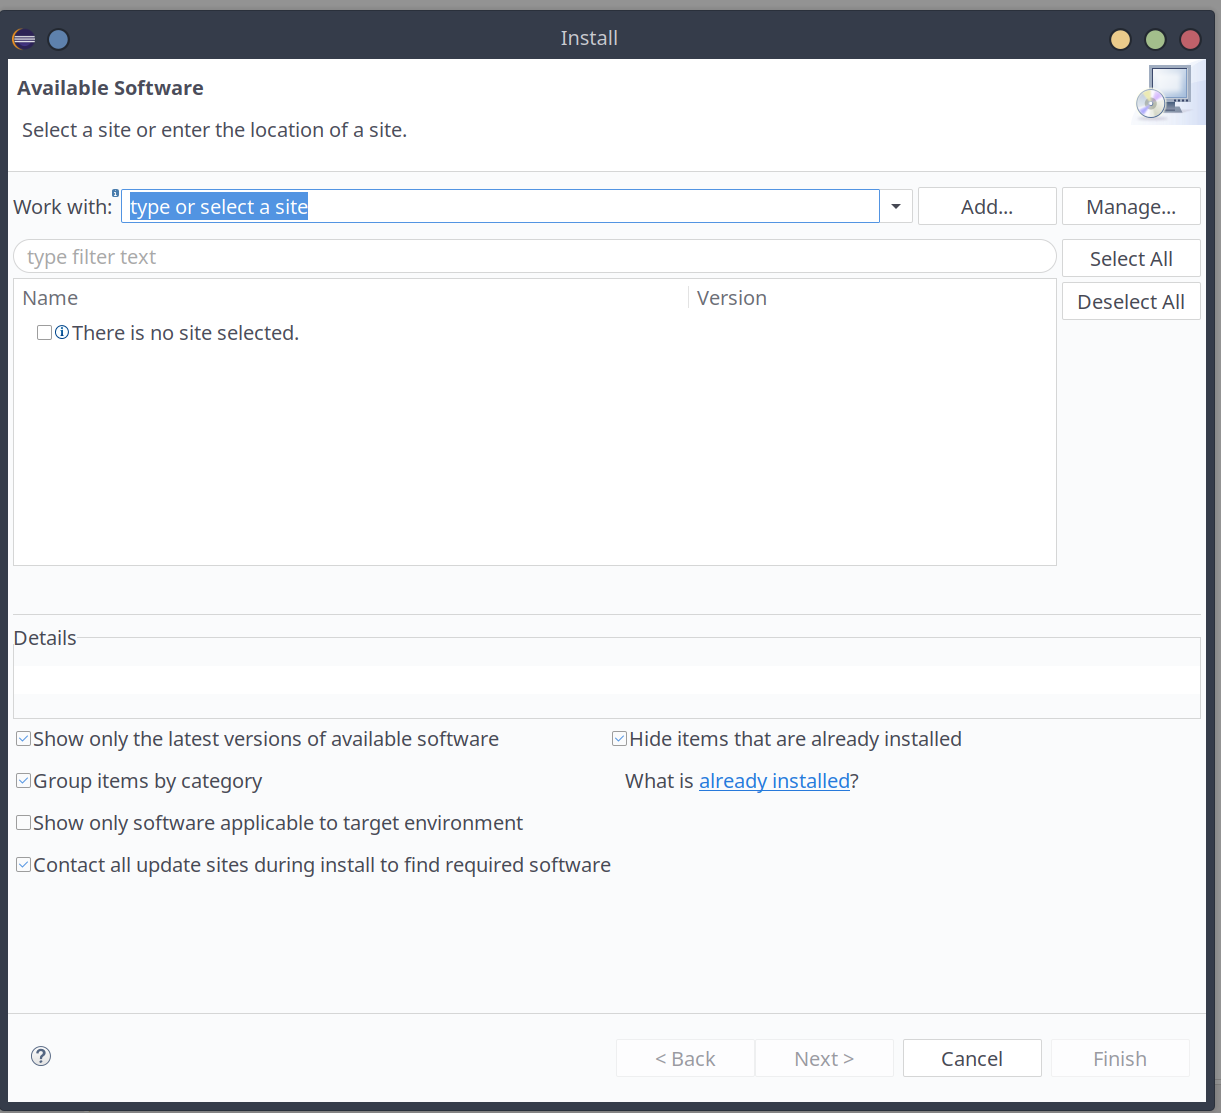
Utiliser l'URL suivante http://www.certiv.net/updates/.
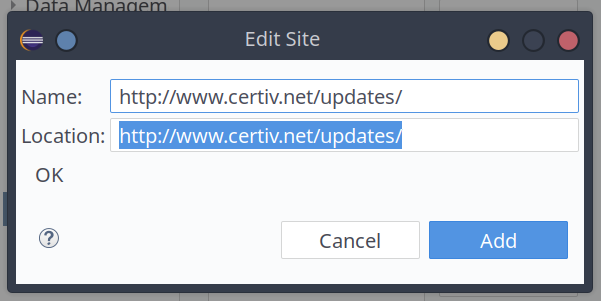
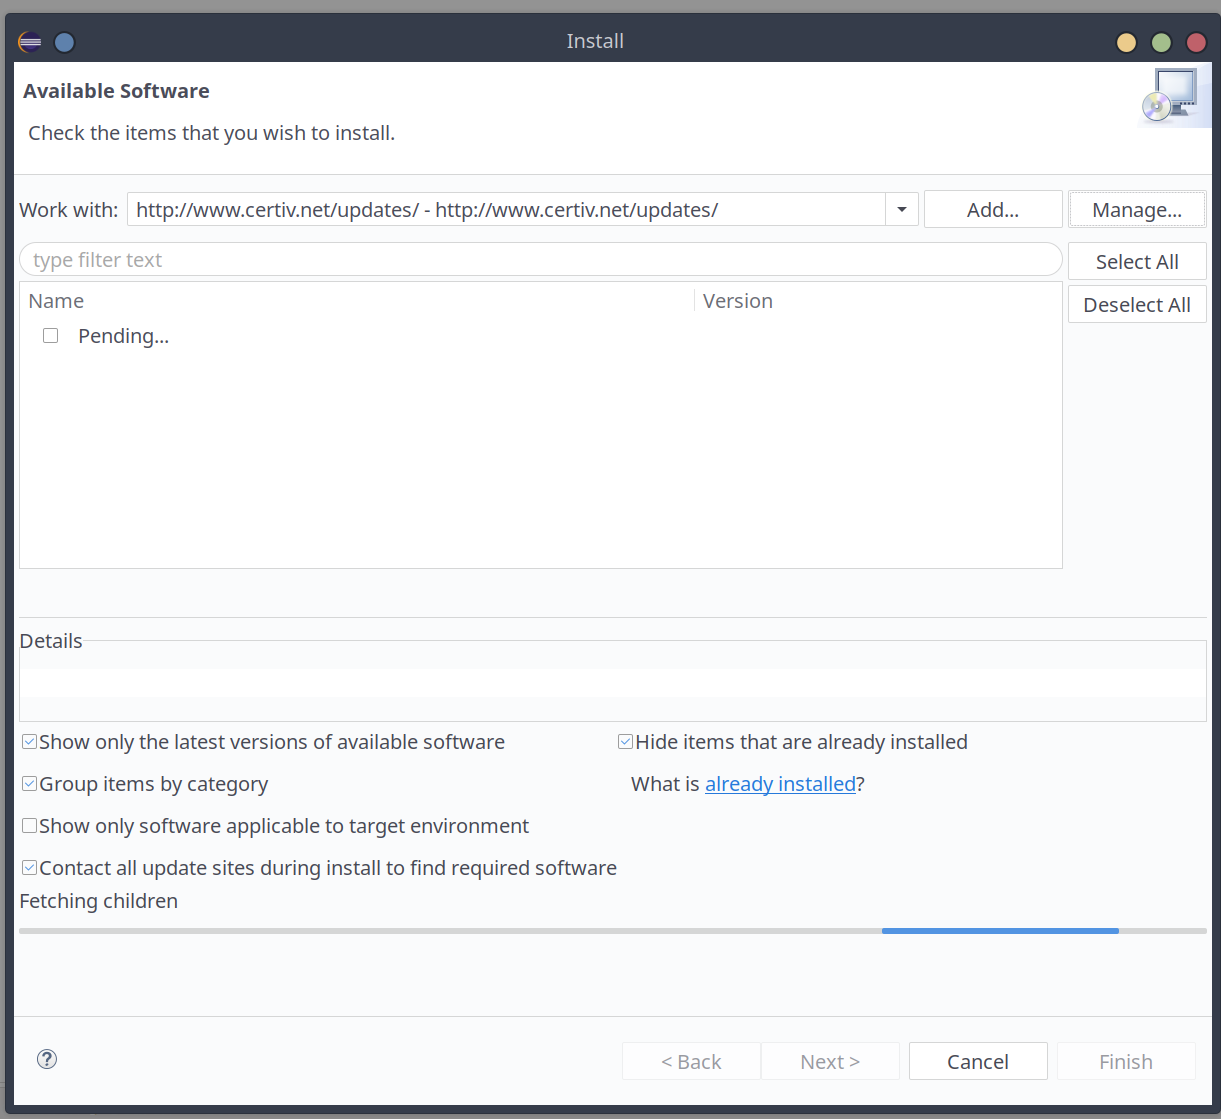
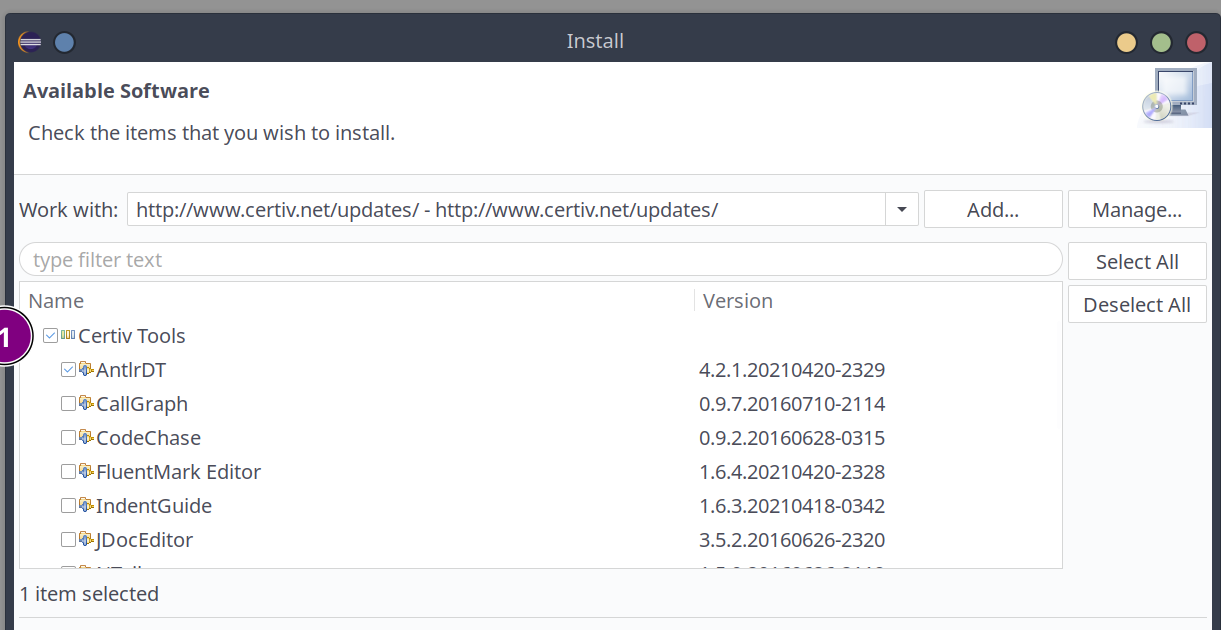
Installation sous VSCode
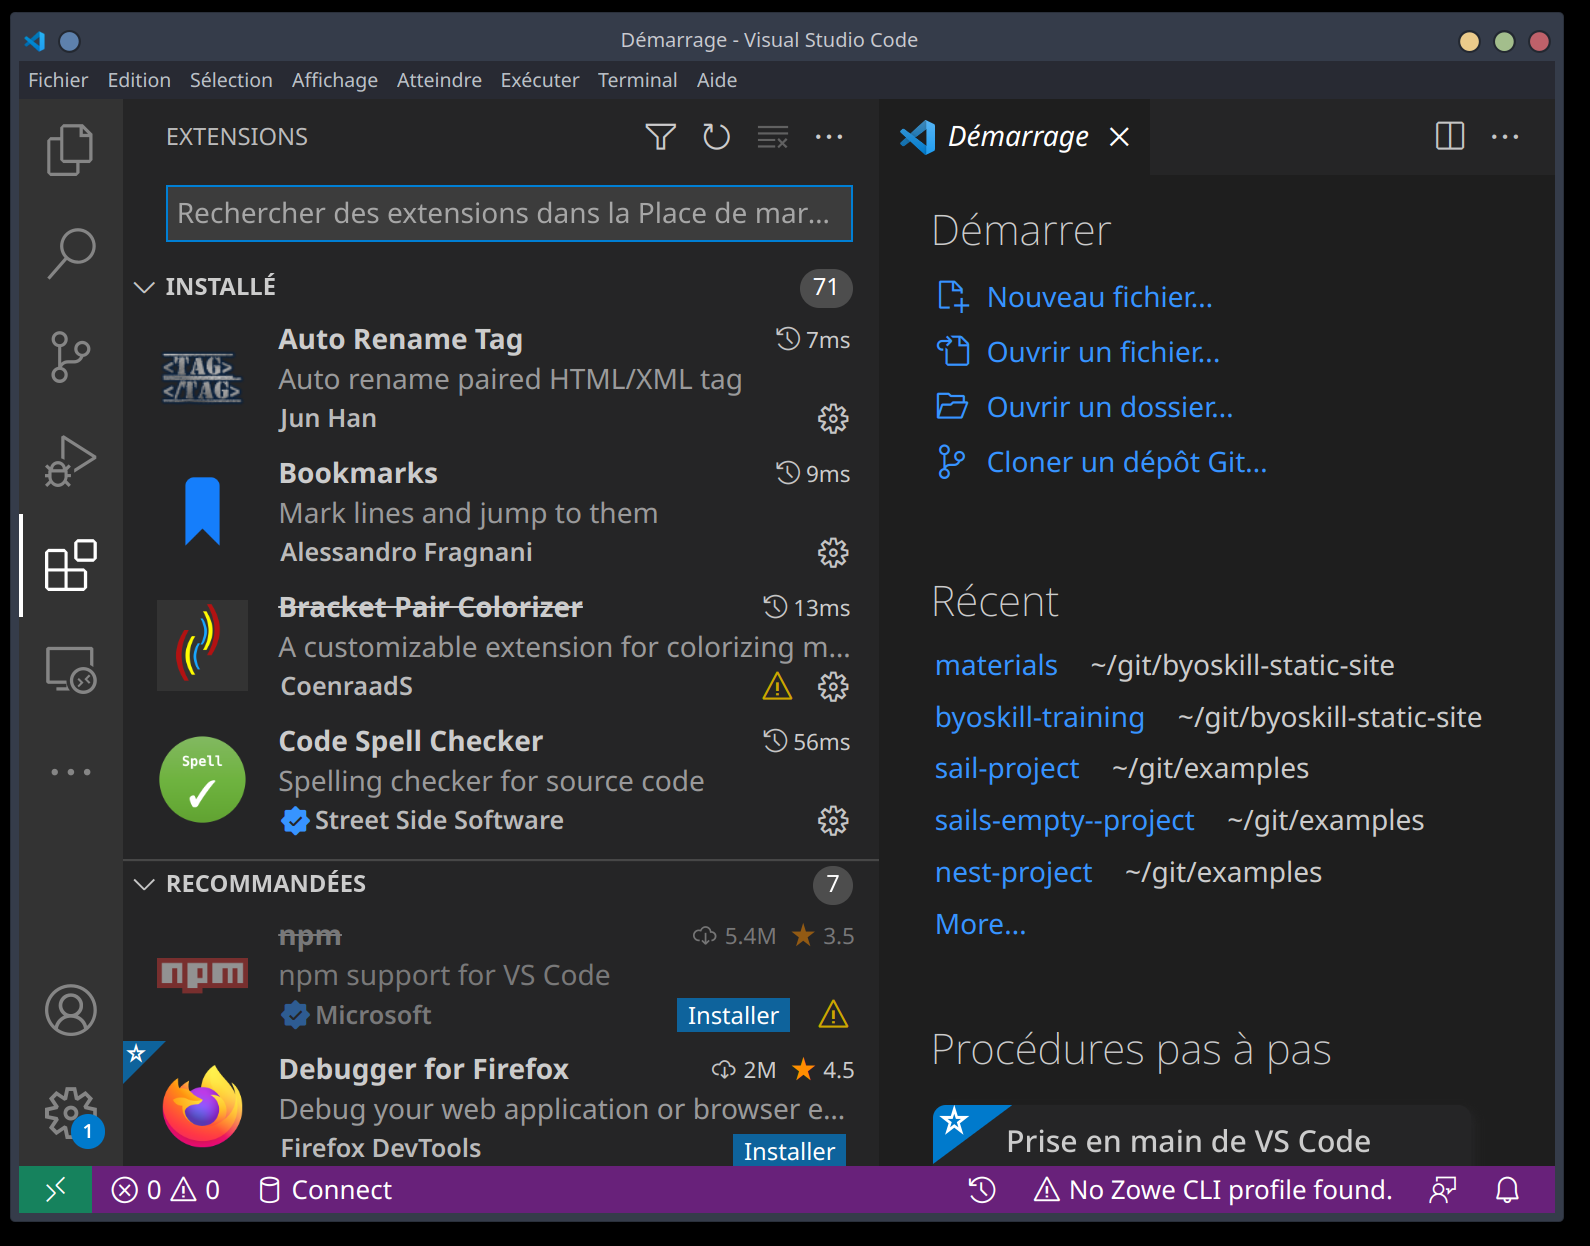
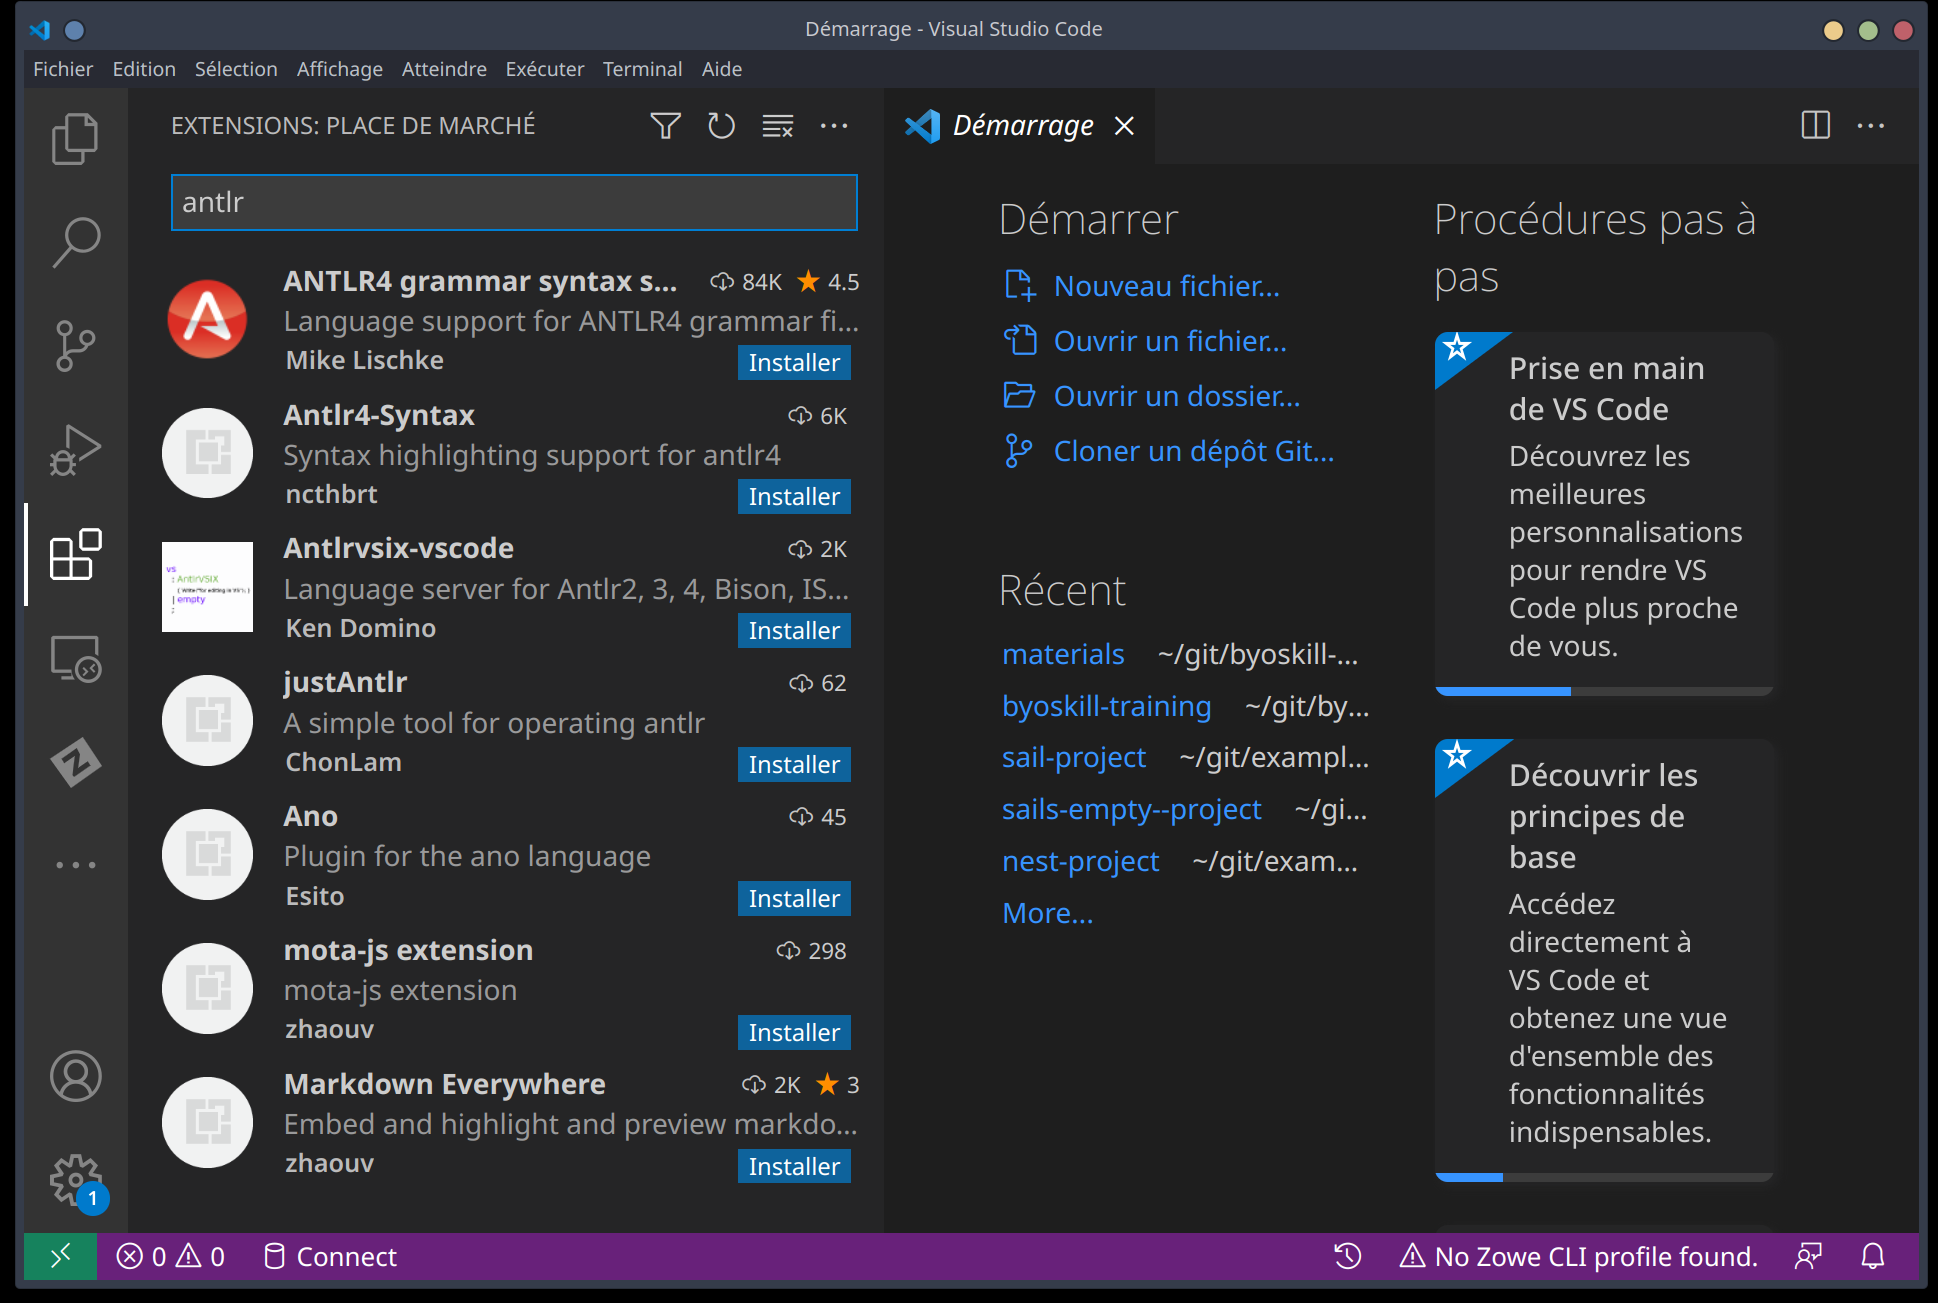
Installation des scripts
Windows
Download https://www.antlr.org/download/antlr-4.10.1-complete.jar.
Add antlr4-complete.jar to CLASSPATH, either:
    Permanently: Using System Properties dialog > Environment variables > Create or append to CLASSPATH variable
    Temporarily, at command line:
SET CLASSPATH=.;C:\Javalib\antlr4-complete.jar;%CLASSPATH%
Create batch commands for ANTLR Tool, TestRig in dir in PATH

 antlr4.bat: `java org.antlr.v4.Tool %*`
 grun.bat:   `java org.antlr.v4.gui.TestRig %*`